


A glimpse of a freshly detailed car in the house parking rejuvenates the entire day. Isn't it? Well, car lovers know that the only downer is the price, which is ludicrously sky-high for professional detailing. The good news here's that a substitute can be obtained at a relatively low cost. Yes, with DIY car interior cleaner guide, you can make your car shine.
Let's reveal the matter.
The Important elements to Car Detailing – A DIY Car Interior Cleaner Guide
Detailing your car can be a daunting task. However, the right tools and data will help you make it spotless and beautiful. This way you not only get rid of the risks associated with harsh cleaning chemicals but also save a lot of money.
For interior cleaning, the various tools you'll be required are baking soda, toothpaste, vinegar, vacuum, alcohol, sponge, toothbrush, compressed air, and mineral oil.
STEP 1: Carpet and Floor Mats
Firstly, vacuum the floor mats and interior. After taking the floor mats from the car, sprinkle the baking powder on floors and mats. Leave it for some time and vacuum areas again.
In case the floor mats contain some grease stains, apply cornstarch to the area and then leave it for around 30 minutes. Follow the vacuum process after completing the time. Often, residue and dust particles sit in the cracks. Be sure to thoroughly clean the region within the car and take the dust with the help of compressed air.
For air vent grilles cleaning, use a toothbrush carefully. When everything seems clean, give a crowning glory having a sponge. The vehicle cleaning will keep your vehicle in excellent condition.

- A Step-By-Step Guide to Fix Dents and Scratches on the Car
- How to Clean Car Floor Mats in Three Easy Steps
STEP 2: Seat Cleaning
The next thing in giving a makeover of the car is seat cleaning. There are two types of seats in cars, including leather and cloth seats.
Leather Seats
Have you ever heard of cleaning car interior with vinegar? Well, for leather seat cleaning, you need to mix linseed oil and vinegar to create a solution. You'll start noticing the shining on the seats after rubbing the solution.
Make sure to apply toothpaste on a small area if you're thinking of washing the strains on your car seats. Sometimes, toothpaste doesn't go well with some dyes. If the toothpaste trick does not work, grab a clear cloth, and drop a few drops of alcohol on it to clean the strains.
A Pro Tip: A test on a small area is definitely suggested to avoid any unwanted situation, for example affecting the colour from the dye.
According to expert maintenance tips, interior car cleaning is an absolute must to improve the car's life.
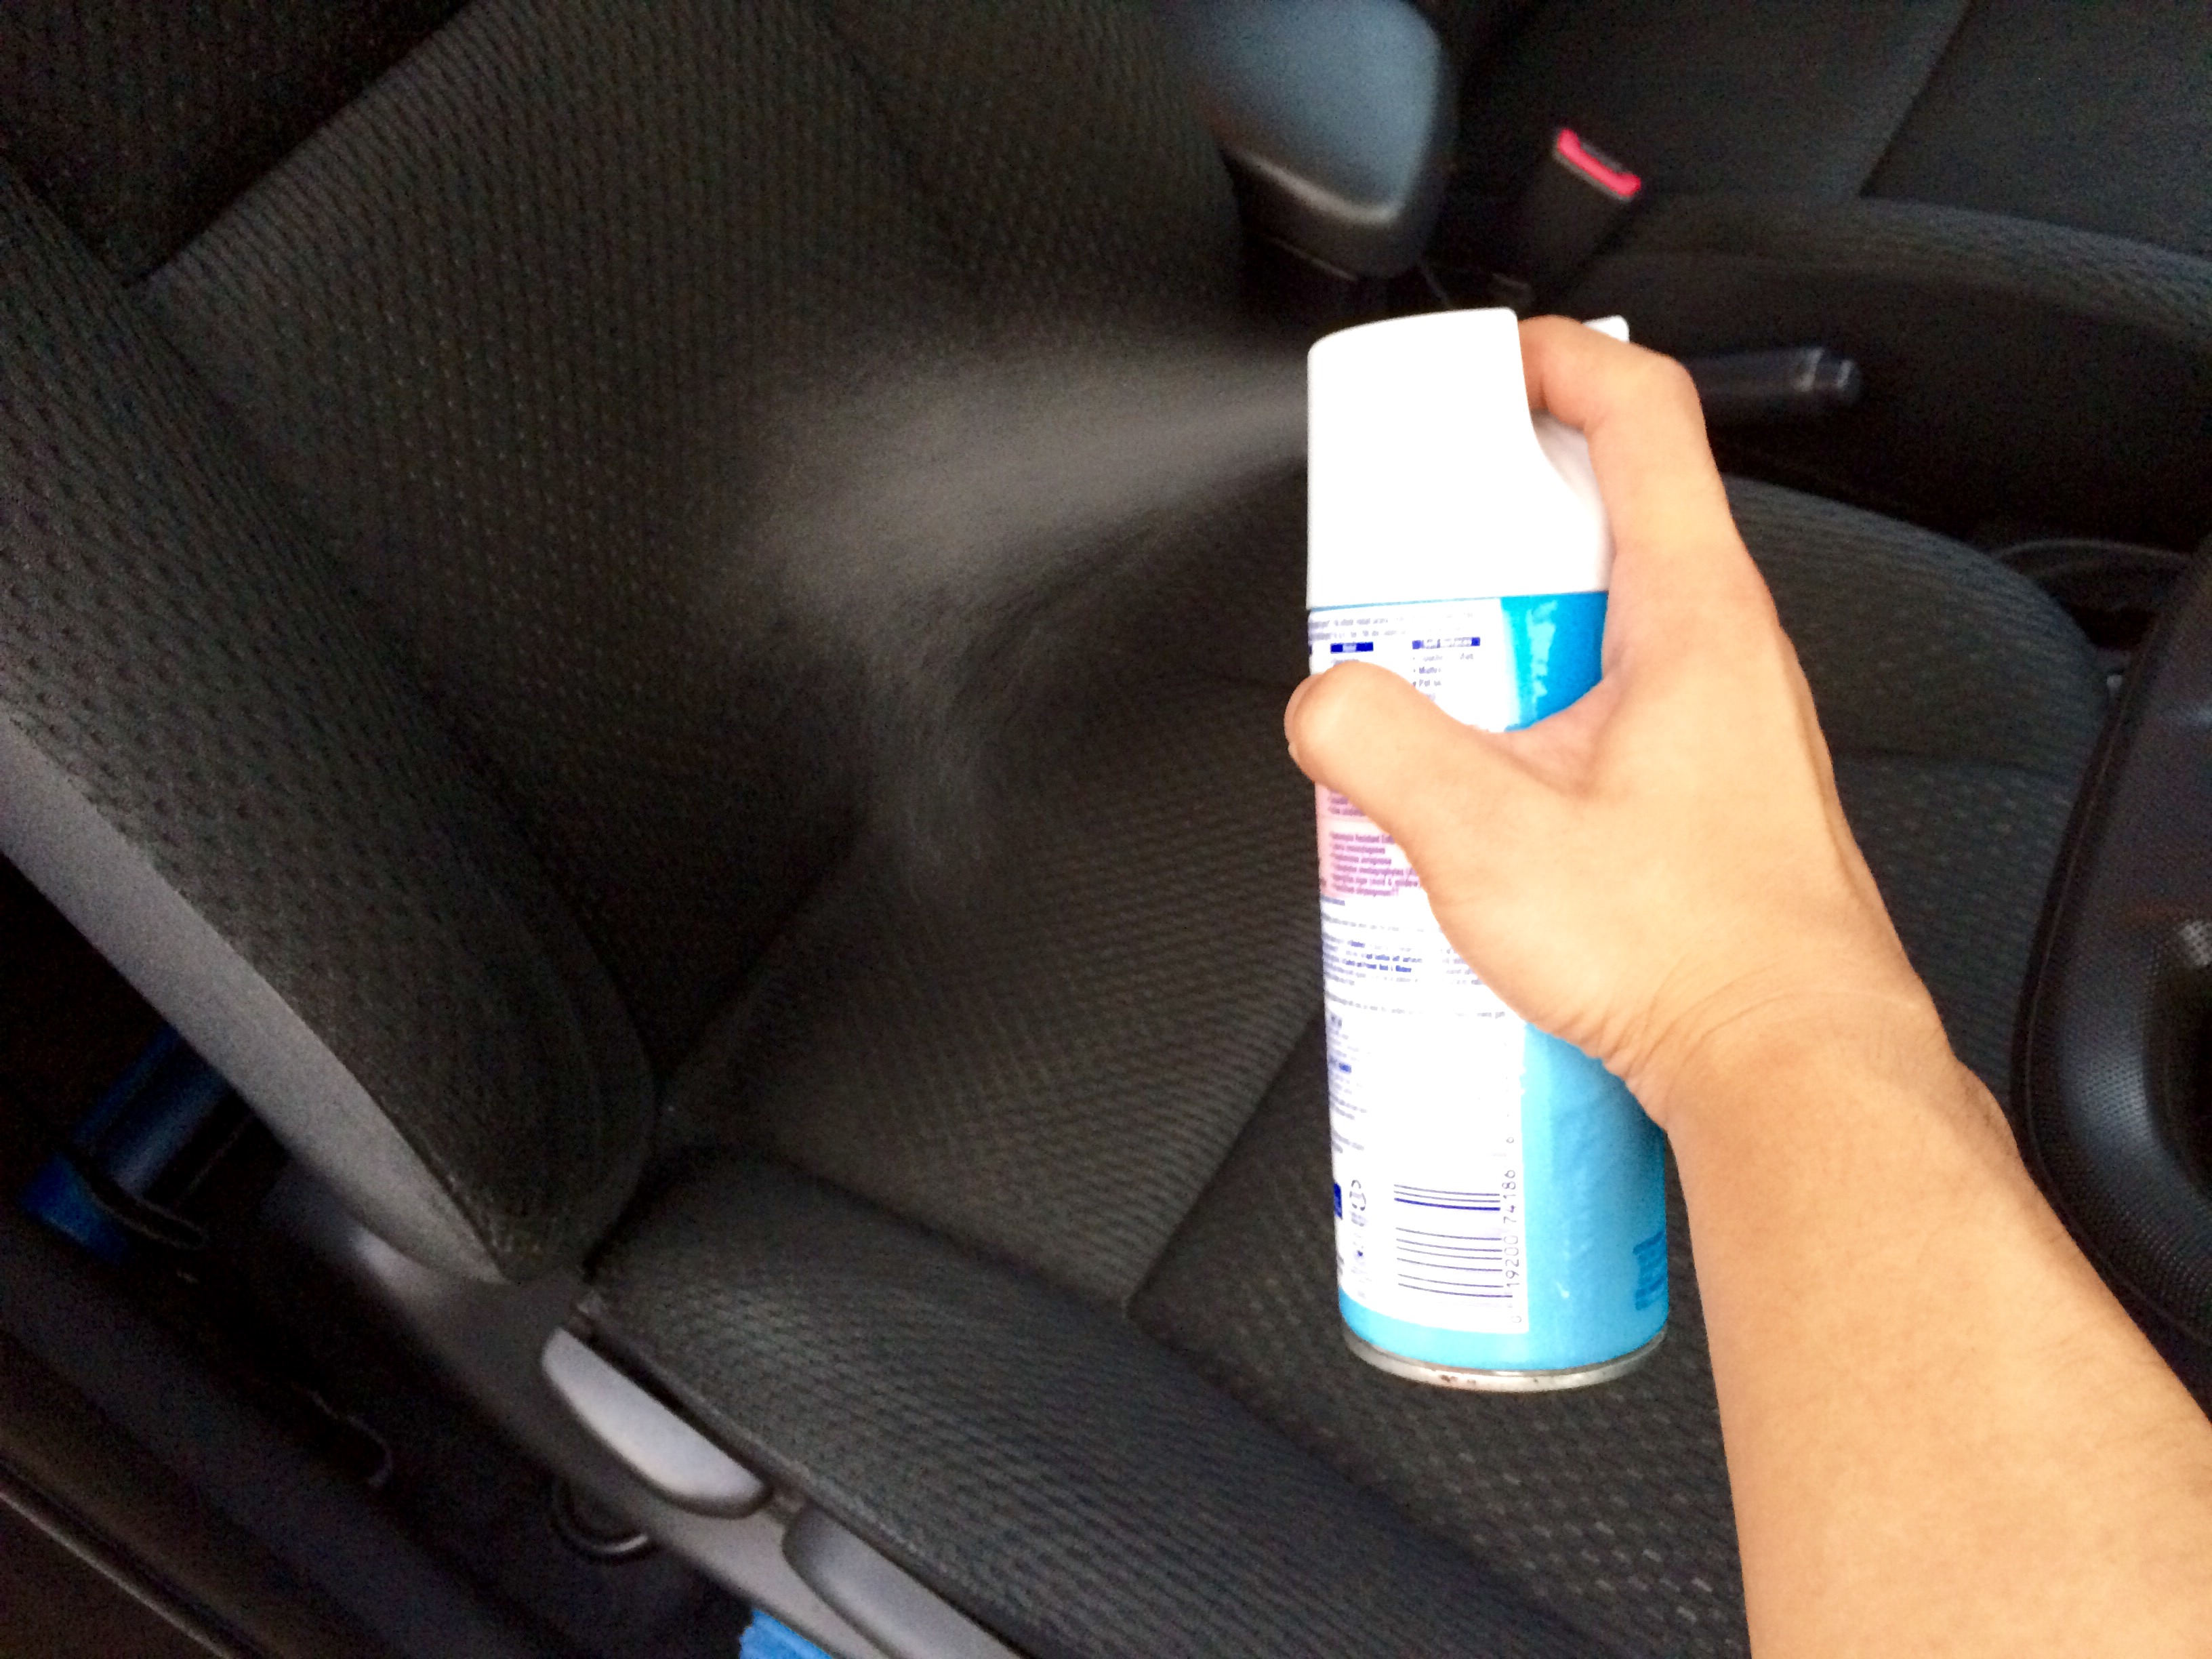
Cloth Seats
After completing the vacuum process, create a car interior cleaning solution mixture if you take some water and vinegar. Now, spray it on the area in which you have found stains. Let it dry for a couple of minutes and 'voila!' – see the magic after cleaning it with a wet cloth.
Natural detergent can also be useful when it comes to eliminating stains. The process is exactly the same – mix correct amount water with detergent, apply around the stains, and clean it with a cloth after a few minutes.
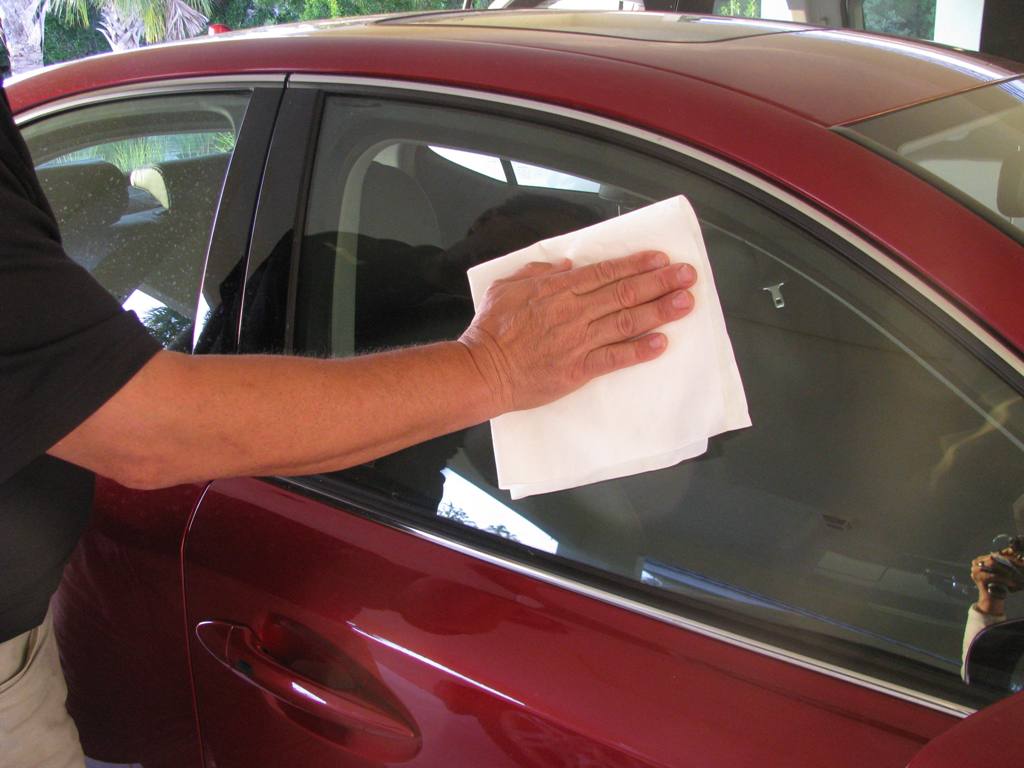
STEP 3: Window and Mirrors
A sponge or microfiber cloth plus a glass cleaner can perform the cleaning work precisely. For plastic, you should use an all-purpose cleaner.
Make certain to be cautious doing the cleaning because tinted windows could be damaged easily if a sheet can be used inside of the window. If you're not sure concerning the tinting, consider going to the shop where you got the tinting done.
Many car owners result in the mistake of spraying the cleanser on the windows and mirrors. To reduce the streaking, consider spraying around the cloth instead of glasses. Lastly, wipe the glass having a sponge or cloth for crystal clean and streak-free windows.
Step 4: Cleaning the Console
A car console has many controls and buttons which are difficult to clean due to the cracks and crevice where dust can certainly settle. The trick is to wrap a cloth around a card for cleaning the console.
A credit card with thinnest edges goes inside the cracks and helps take away the dirt.
Step 4: Deodorize the Car
Believe it or otherwise, a bag of charcoal might help get rid of the lingering odor. Leave the bag open in a car for a few days. Without the need for any deodorizer, it helps absorb bad odors.
You can also get any odor removal product to reduce the odor caused by pets or cigarette. Should you travel with pets, the probability is that odor will return. So, get a car deodorizer and hang it on the rear mirror.
To Summarize
As cliché as it sounds, the appearance of an automobile gives good first impressions. Since nobody likes a shabby looking car, consider the above DIY Car Interior Cleaner Help guide to possess a sleek and glossy interior that smells visual appearance pleasing.


