


So there you are, just traveling down the highway, lulling out to your favorite beat on the radio, possessing a good old time, all aspects are right in the world. Becoming a good, alert car owner, you glance right down to check your gauges; petrol good, oil stress good, volts absolutely sure whatever halfway amongst 12 and Sixteen means. Then you make sure the water temp evaluate is running a minimal high. It isn’t becoming a fire hazard, but enough to give you that tingly feeling with your chest; after all, that you’re 1000 miles abroad in the middle of the State of arizona high-desert. After a few miles, a dash lights up lime with a flashing word of caution “Low Coolant”. You see the signal for the next gas station and pull in, which is when you catch a faint whiff of incredibly hot antifreeze.
You hop out and discover a small puddle developing under the engine. You already know what it is; it’s the center of your truck’s engine- this coolant. Luckily, you always keep a couple of jugs of water with you for these circumstances. As you crawl under the car in the parking garage of the gas station, you can see a small flood water pouring out from below the engine, you check out the hoses, those are usually fine; you look to find out whether the leak isn’t too far off from the water fretboard, nope. Then you area it- the weep problem. Great, not an easy fix. Your road trip just went out of fun to kerbside repairs. The internal closes of the water tube are shot. When the engine is functioning, coolant leaks, when the generator is shut off, the idea pours out. Happily, the pump is usually functional for the moment. A nearby NAPA store in this village is closed missed on a Saturday day, so you have to keep going. Refill the containers, head on down the road along with one eye on the water temp.
This is actually exact situation most of us recently faced at a cross-country road trip. Luckily, the pool pump did not fail, it maintained perform throughout the first lower calf of the trip. People hit the closest NAPA Car Part Store, however, NAPA Auto Parts in Valley View Rd in Las Vegas, NV, and picked up a new waters pump. The store made it possible for us to install the various in their parking lot and also let use a several specialty tools that people didn’t have on hand. We were treated to the rest of the tools we needed in the travel software box, if you don’t have any travel tool field, you need to put one together.
Repair Overview
A lot of effort goes into swapping any water pump. We’re not going to walk everyone step-by-step through the entire repair, although we want to give you a perception of what kind of work is involved whether you choose to Do it yourself or have your local NAPA AutoCare take action for you. Regardless, you will find a better idea of what kind of work a Chevrolet/GMC truck water pump replacement requires.
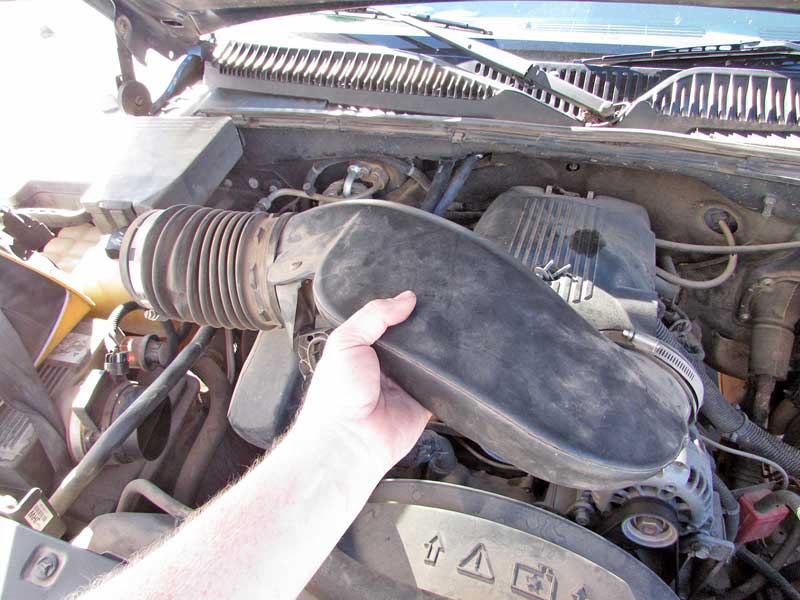
First, the atmosphere box and oxygen inlet hose happen to be removed to expose the top of the radiator shroud.
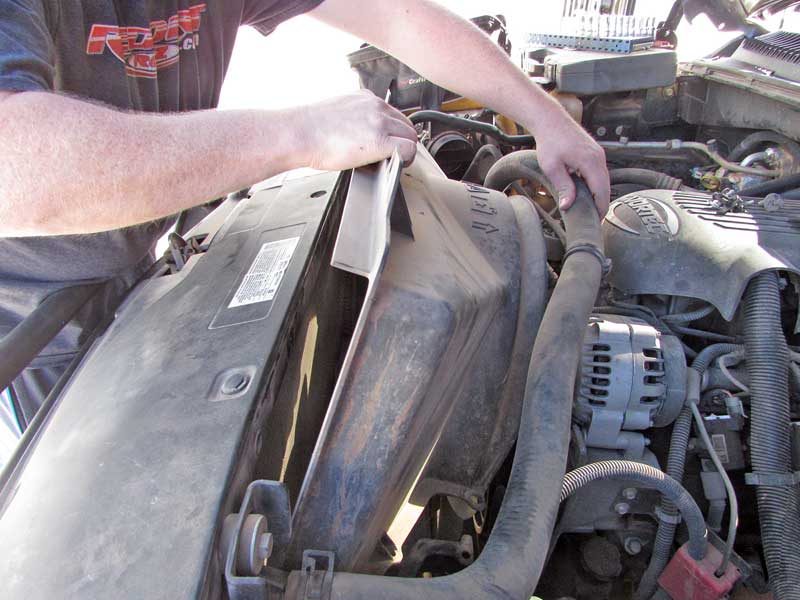
Then you need to get the fan wrapp out of the way.
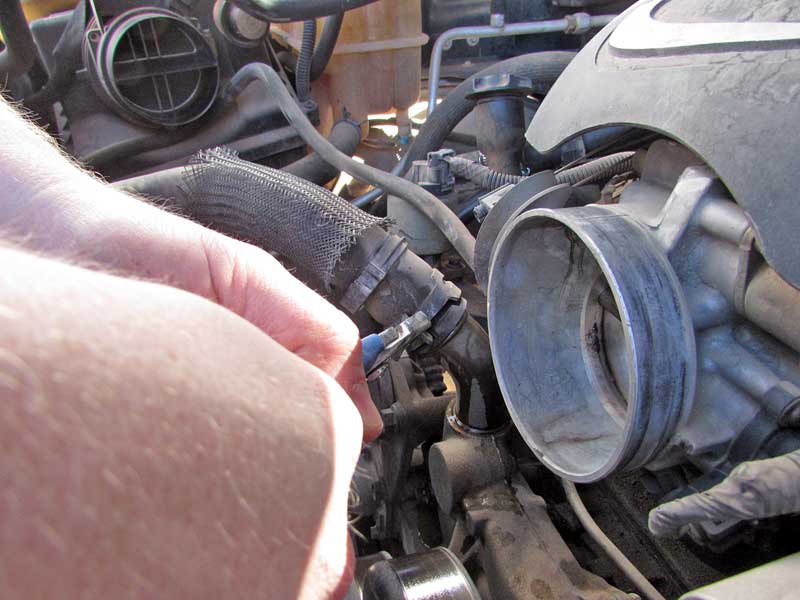
Next, all the hoses need to come off the old pump.
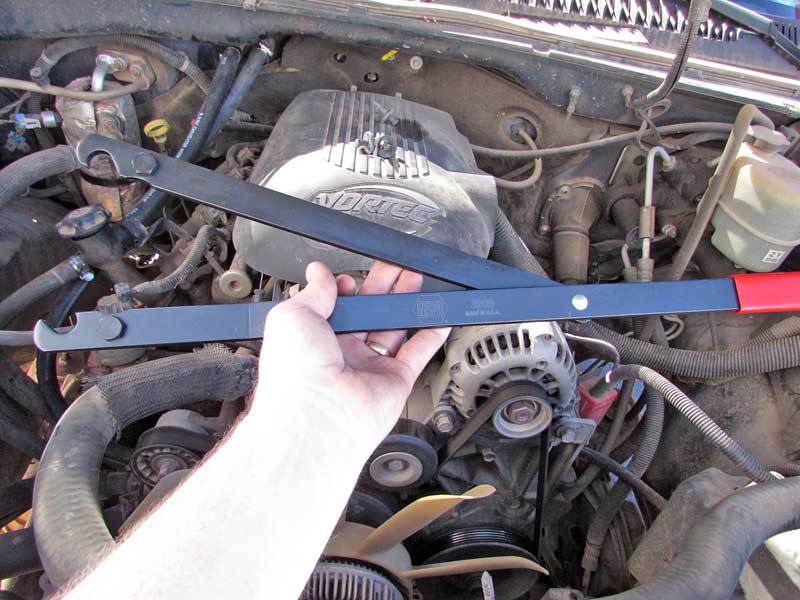
Taking off the enthusiast requires a special resource, which your shady mechanic will already have or you may need to buy from any local NAPA.
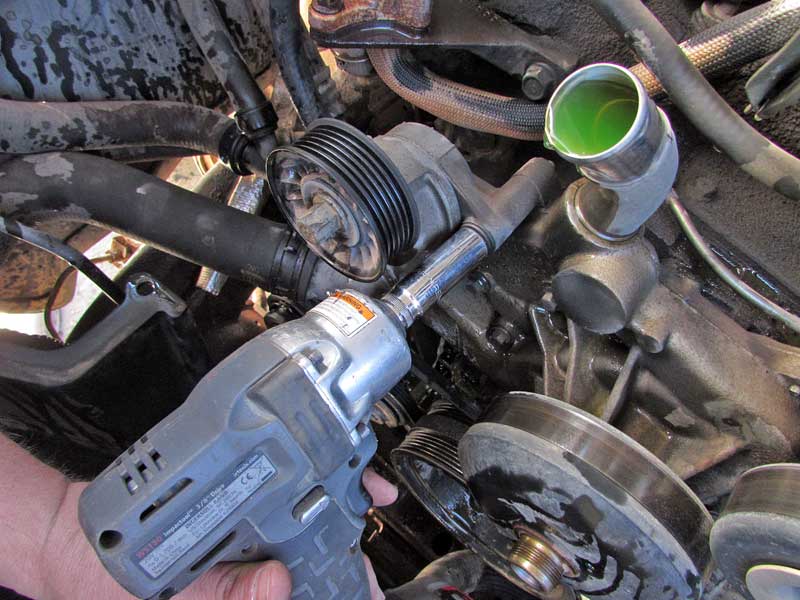
The serpentine belt comes off next, then it is up on removing all the mounting bolts that hold the h2o pump in place. Here is where experience or maybe a good shop handbook pay off. Unfortunately h2o pump bolts happen to be notorious for breaking up, so care ought to be taken. This is a step that may be best left into the professionals, because if a new bolt snaps from the block things get yourself a lot more complicated.
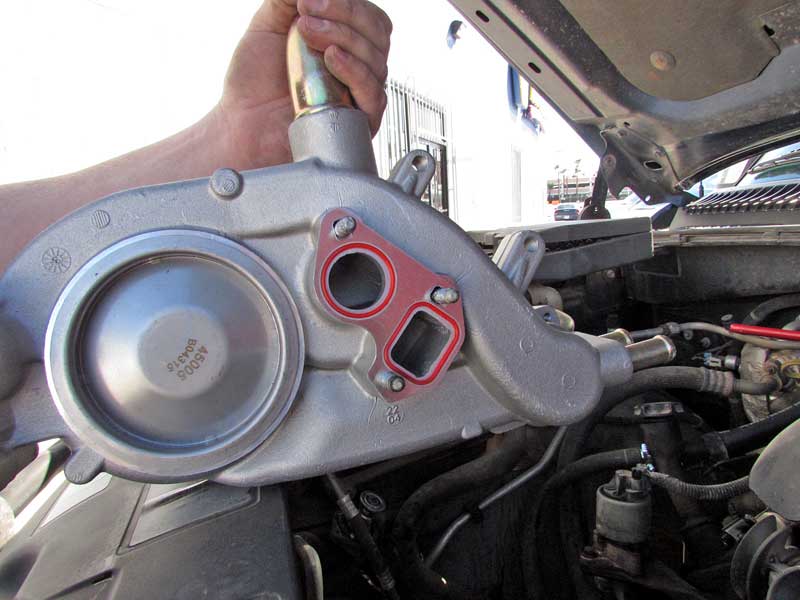
The old water pump may get tossed and the new water pump becomes prepped for installment with fresh gaskets.
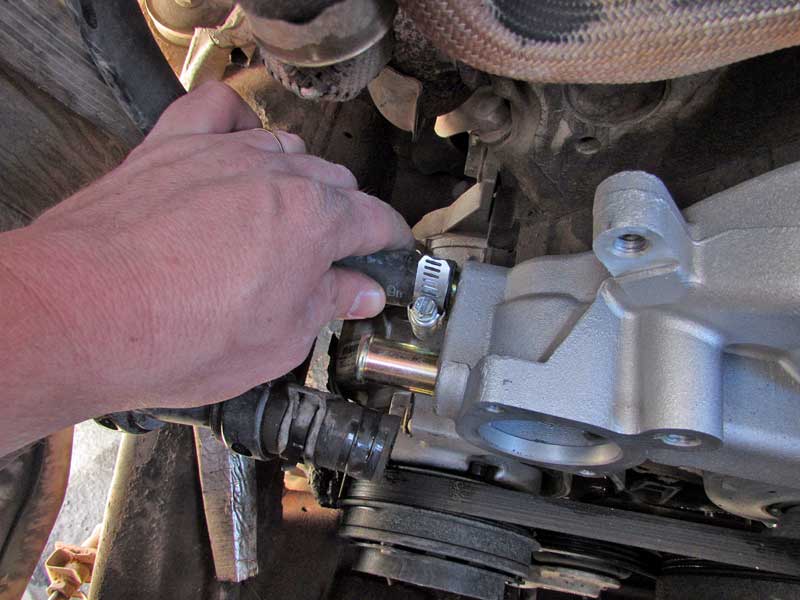
Now almost everything goes back on inside the reverse order it came off.
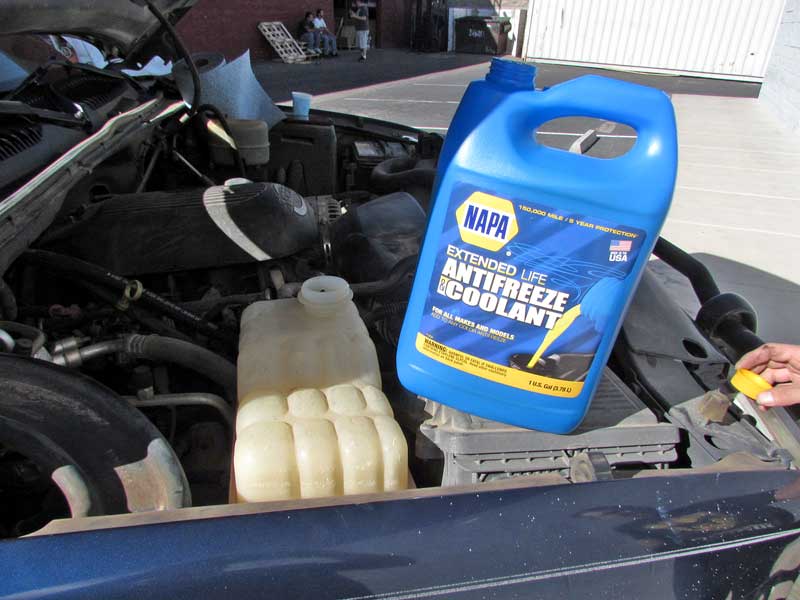
Once things back together it is time to complete the coolant tank generate the engine as much as running temp ahead of topped off for a second time.


