


All you need is a gas tank that serves you well and withstands time. However, the gas tank does wear off or receives scratches and leaks with time. Even when it's a cheap aspect of replace in a vehicle, it does not mean you need to go through the replacement every time. Consequently, the repair takes place which involves sealing the leak using different ways. Today, we are going to discuss methods about plastic vehicle's gas tank repair and just how you are able to proceed with every of those.
Plastic Gas Tank Repair: Learn Different Methods to Seal the Leak
Majorly, you will find three methods by which you are able to focus on fixing the leak or scratches around the gas tank. These techniques involve using the epoxy glue, the plastic welder, and also the soldering gun. You can try fixing the issue with whatever method you find convenient, let's have all three here-
Preparing the Tank
Before you proceed with the plastic gas tank repair, it is important to prepare the gas tank therefore the method can work onto it. To prepare the tank, you need to drain it and allow your tank dry out. Obtain the content into a container safely and set it aside. Use a cloth to wipe whether it feels greasy; let it rest open under the sun. Well, emptying the container is not mandatory if you are using epoxy glue.
Applying the Epoxy Glue
Before going on \”how to correct a plastic gas tank,\” you would need a cloth to wipe, alcohol, epoxy glue, fiberglass patch, and sandpaper at last. After you have emptied the tank, leave it to dry for about Five to six hours. If this seems totally dry, take the sandpaper and sand the region where there is a crack. Wipe the region if you take some alcohol on the cloth. Rubbing the alcohol on the damaged area helps to ensure that no grime or dirt is left. It will help the epoxy glue to remain at first glance for longer.
Now, it is time to take the putty and mix rid of it. You may also wear the gloves while kneading the 2 parts of the putty. Do it for some minutes until it forms one color and seems solid and ready to be used.

Read More:
- Symptoms of Having Water in the Car's Gas Tank
- Why Different Vehicles Have Gas Doors on several Sides?
Take the putty and begin applying on the leaky surface. Apply enough pressure so that you can stretch it enough that it forms a skinny layer. It ought to be flat enough that some part of it adopts the leak and stays round the leak too.
Next, to secure the leak, much more, you need a fiber cloth you need to apply on the putty. Cut it carefully using a knife or scissors with the gloves. Apply the cloth within the glue and press it down firmly.
Once you are done with the steps, go ahead and take remaining glue and apply it over the fiberglass cloth and cover the entire area well. Wait for Four to five hours to let the glue get dried completely. Afterward, take the sandpaper and sand the region to smoothen up.
Tip: Use the putty method if you want to leak the seal using the safest and easiest way.
Using the Plastic Welder
The second one among the plastic fuel tank repair procedures needs you to use a plastic welder. To make the welding method work, you would need the welding rods, eye and head protection together with gloves. Use sandpaper too to scrape off the excess material from the surface.
Make sure you purchase the welding tool that's right for your task. You can also head to the welder shop and book one. Ask for the recommendations concerning the welding rods too using the salesperson.
When it is about welding, you need to empty the container and also have it in an open space. Be sure you drain the content and dry it thoroughly before proceeding. Wear all your protection prior to going welding!

Start using the rod in a way that it fills the leaky area well without leaving anything undone. If you are not sure about welding, check out some videos about the same or you can employ a professional too. Hold back until the entire seal dries up or 6 to 8 hours and finish using the sandpaper by removing the excess seal.
If you need to get rid of any vehicle's gas tank repair, you can also should you prefer a metal tank. These tanks are sufficiently strong to serve you longer; however, they've their limitations too, such as the possibility of corrosion and weight. Make sure you observe both the benefits and drawbacks of having metallic vs. plastic gas tank.
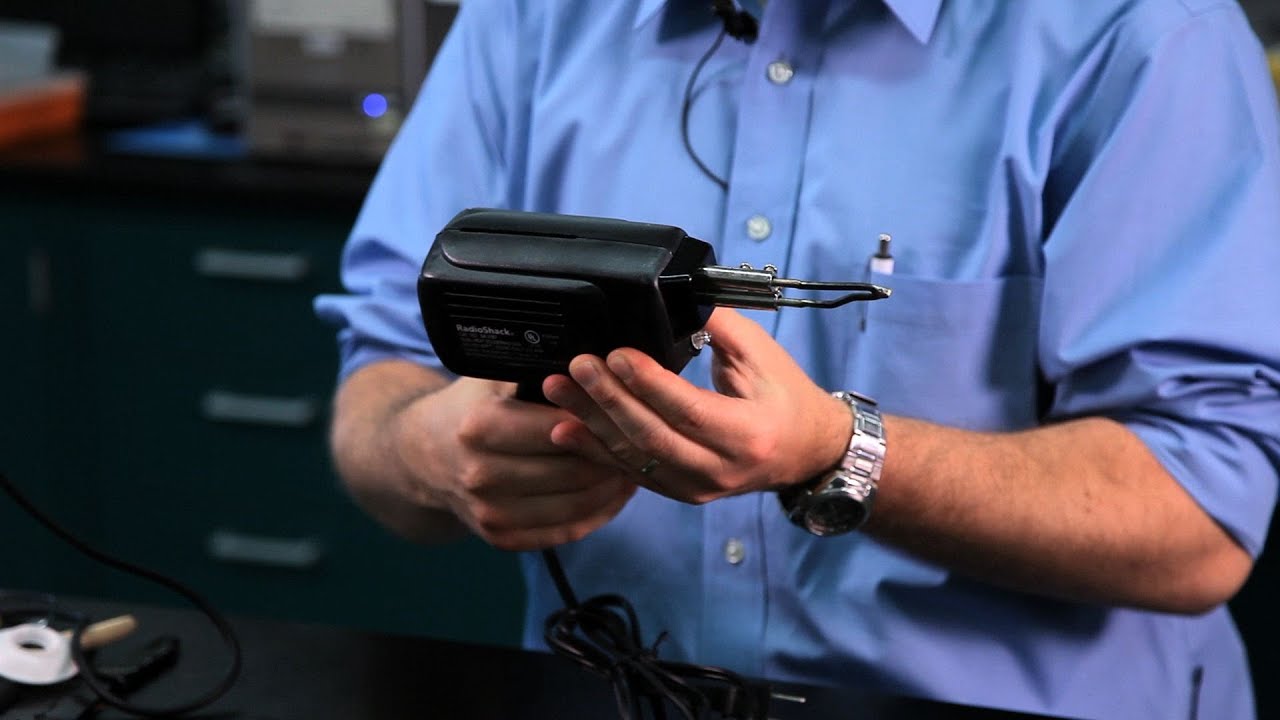
Using the Soldering Gun
The last method depicts the entire process of utilizing a soldering gun to fill the space and seal the tank. For the job, you'll need the epoxy glue, the plastic patch, sandpaper, and of course, the soldering gun. Read out the collection Maintenance Tips rather than leave your car's issue uncured.
For soldering, you would need a completely cleaned and dried tank. That is why be sure you empty the tank and clean it outside and inside. Make use of the sandpaper around the area that requires the seal to smoothen it up.
Get a plastic patch or perhaps a bit of plastic similar to the material of your gas tank. Make use of a slightly bigger plastic piece compared to area that's to be sealed.
Now, you have to warm-up the soldering gun enough so it could make the job happen. Take the gun and use it in to the leak therefore the plastic there could possibly get a bit soft. As the plastic is still soft, insert the plastic patch there and solder the plastic vehicle's gas tank until it gets blended completely. You need to use the epoxy glue in between to create everything secure. Finally, use the sandpaper and scrape the excess material.
Conclusion
These would be the 3 ways by which you are able to perform a plastic vehicle's gas tank repair. Not only for the cars but other plastic tank repairs can be achieved utilizing the same procedure. If you're not sure about performing the repair yourself, obtain a professional, and also have the vehicle's gas tank repaired.


